
Table of Contents
- 👞 Intro
- 📦 Unboxing
- 👞 The Shoes
- 🧴 Conditioning
- 🧽 Applying Renovator
- 🧴 Applying Shoe Cream
- ✨ Applying Mirror Shine
- 🌟 Results
- 👋 Outro
👞 Intro
Welcome to an in-depth guide on how to properly prepare and polish your brand new leather brogues, specifically focusing on a pair of Gifennse shoes. Whether you are a seasoned shoe enthusiast or just starting your journey into men's style and personal grooming, understanding how to care for your footwear is essential. These shoes are not just about style; they reflect your personality and attention to detail.
This article will walk you through the entire process—from unboxing your new shoes to the first polish, including conditioning, applying renovation cream, shoe cream, and finally, a mirror shine finish. I’ll share tips, tricks, and insights on why each step matters, ensuring your shoes not only look stunning but also last for years.
📦 Unboxing
Unboxing a new pair of shoes is always a special moment. The Gifennse shoes come in a distinct box that already hints at the quality inside. The 1880 range is Gifennse's premium collection, named after the year the company was founded, and it represents the pinnacle of British shoemaking craftsmanship. These shoes are proudly made in the UK and carry the Royal Warrant, a testament to their quality and reputation as a supplier to Her Majesty the Queen.
Opening the box, you’ll find the shoes carefully wrapped, accompanied by a brochure detailing the shoe's history and the rich heritage of Gifennse, which remains a family-run business spanning five generations. Alongside the shoes are soft shoe bags—perfect for travel or storage to protect your shoes from dust and scratches.
The sense of tradition, quality, and attention to detail is immediately evident, even before you touch the leather. This unboxing experience sets the tone for the meticulous care these shoes deserve.
👞 The Shoes
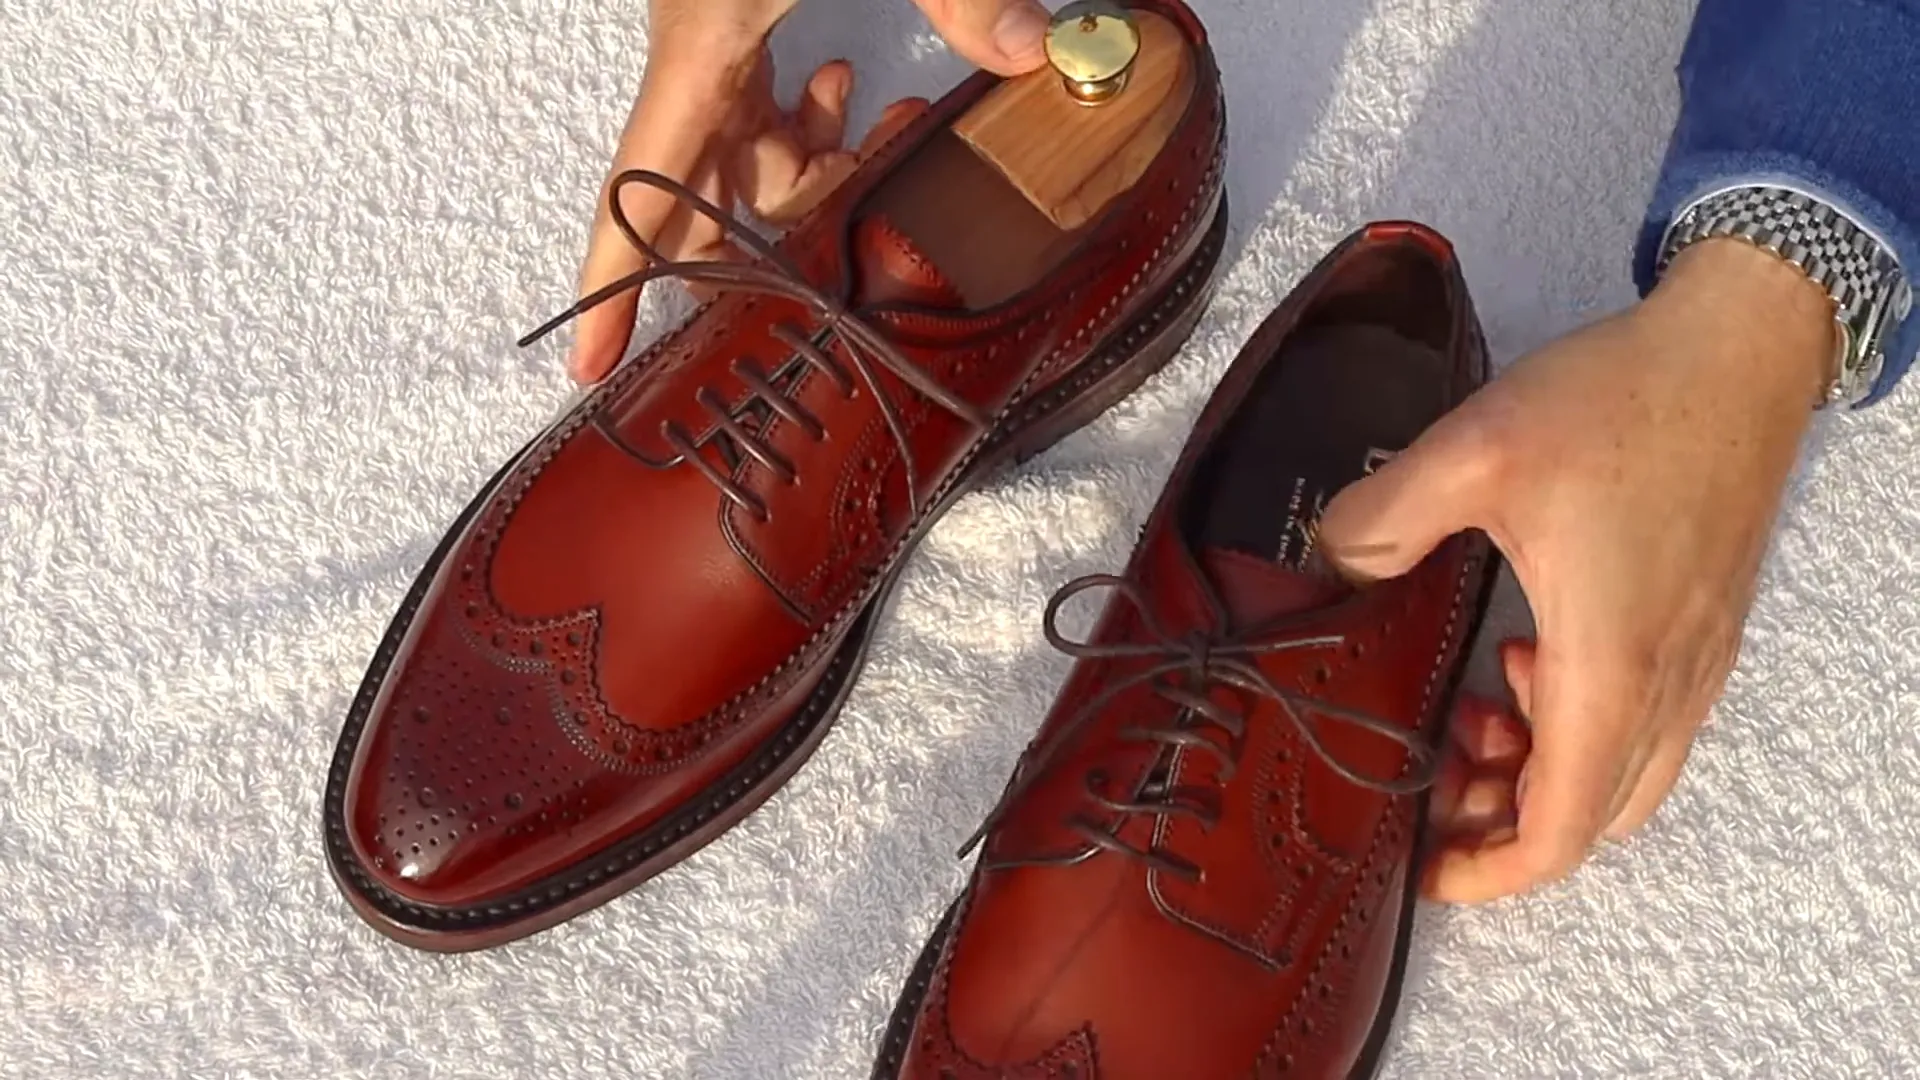
Let’s talk about the star of the show—the Gifennse shoe. My choice was the burnished conker color, a rich mid-brown with subtle reddish undertones that evoke the warm, rustic hues of autumn leaves. This color is versatile, making it perfect for pairing with chinos or other casual trousers, especially in less formal settings.
The Birkdale is a classic wingtip brogue, featuring full broguing around the shoe and a medallion brogue on the toe cap. It’s a design that blends heritage and sophistication, with enough detailing to catch the eye without overwhelming the overall look.
One notable feature is the derby lacing system, where the eyelets are part of flaps sewn on top of the shoe’s vamp. This makes the shoe slightly less formal than an Oxford, but more comfortable and adaptable for everyday wear.
Another practical aspect is the day-night sole. This sole offers excellent traction and durability, particularly useful in wet or slippery autumn and winter conditions. The sole is well constructed and robust, ensuring that these shoes will be reliable companions through various seasons.
Overall, the Birkdale is a sturdy, well-made shoe with a timeless style that suits many wardrobes.
🧴 Conditioning
Before putting your new shoes to work, it’s crucial to condition the leather. Despite the factory’s care, leather can be slightly dry or lack some suppleness after sitting in storage or transit. Conditioning nourishes the leather, replenishes oils, and prepares it to absorb polish more effectively.
For conditioning, I use Saphir Renovateur, a renowned cream conditioner rich in oils and waxes. This product not only protects the leather but also nourishes it to prevent cracking and dryness.
Before applying any product, I always insert cedar shoe trees inside the shoes. Cedar shoe trees are an essential investment for any shoe enthusiast—they maintain the shoe’s shape, absorb moisture, and help the leather keep its form over time. These shoe trees are durable and worth every penny, often lasting a lifetime.
Applying the conditioner is straightforward: using a soft cloth, I wrap it around my fingers and apply the Renovateur in small, circular motions over the leather. This ensures even coverage and helps the leather absorb the product thoroughly.
Though the shoes are new and in good condition, conditioning is a vital step to ensure longevity and optimal appearance. After application, I let the conditioner dry naturally, usually outdoors if the weather permits, as fresh air speeds up the drying process.
🧽 Applying Renovator
Once the conditioner has been absorbed and dried, the next step is to brush off any excess and prepare for the next layer of protection—shoe cream. To remove the leftover conditioner, I use a 100% horsehair brush, which is an absolute must-have for anyone serious about shoe care. This brush helps to generate friction and heat, which warms the leather and encourages deeper absorption of the conditioner.
Brushing also cleans out any conditioner that may have settled into the brogue perforations, keeping the detailing crisp. This step results in a subtle sheen that brings out the natural beauty of the calf leather.
At this point, the leather looks nourished and healthy, but it still needs color enhancement and protection. The renovator sets a solid foundation for the subsequent layers of cream and wax polish.
🧴 Applying Shoe Cream
Now comes the fun part—applying shoe cream. Shoe cream serves dual purposes: it conditions the leather further and adds color to enhance the shoe’s appearance. For my burnished conker Birkdales, I had to choose between mid-brown and mahogany cream polishes from my collection.
While the mid-brown was a good fit, it appeared a bit too brown and didn’t complement the reddish hues of the leather as well as I wanted. Instead, I opted for the mahogany shoe cream from Saphir, which has a rich red tone that beautifully accentuates the burnished conker color.
The beauty of shoe cream is its versatility—if the color isn’t quite right, you can always switch to another shade or alternate colors over time to create a unique patina that reflects your style and the shoe’s journey.
Applying the shoe cream is similar to conditioning: I wrap a soft cloth around my finger, dip it into the cream, and apply it in small, circular motions. This helps the cream penetrate the leather, bringing out its natural beauty and protecting it from the elements.
Don’t worry about applying too much polish—small amounts, applied evenly, are more effective than thick layers. You can always build up layers over time to achieve the desired color depth and shine.
After applying the cream, I let it dry for a few minutes before brushing it off with the horsehair brush. The friction generates heat, which melds the cream into the leather pores, enhancing color and providing a soft sheen.
✨ Applying Mirror Shine
While the cream polish adds color and nourishment, a mirror shine polish provides the high-gloss finish many shoe enthusiasts desire. This step is optional but adds a touch of sophistication and character, especially to the toe cap area, which often catches the eye.
For mirror shine, I use Saphir’s “Mirror Gloss,” a dry wax polish that allows you to build shiny layers quickly. It comes in neutral and colored versions. To complement the burnished conker color and mahogany polish, I chose black mirror gloss to add depth and contrast.
The technique for mirror shine involves using a dampened cosmetic cotton pad. Just a few sprays of water lightly moisten the pad, which is then formed into a small wad. This wad picks up a small amount of polish, which is applied in tiny, circular motions over the toe cap.
The key to a good mirror shine is patience and layering. Each thin layer is allowed to dry briefly before applying the next, gradually building up a reflective surface. The process only took me about five minutes, but the results are stunning, with a lustrous shine that highlights the quality of the leather and the care put into the shoes.
This finish not only looks fantastic but also provides an additional layer of protection against water and scuffs, making your shoes both beautiful and functional.
🌟 Results
After completing the conditioning, cream polish, and mirror shine steps, the Gifennse shoes look transformed. The burnished conker color is richer and more vibrant, with the mahogany polish enhancing the warm red undertones beautifully. The mirror shine on the toe cap adds just the right amount of character and elegance.
The leather looks healthy, supple, and protected—a testament to the care invested in the preparation process. These shoes are now ready to be worn confidently, knowing they will represent you well and endure the challenges of daily wear.
For me, this process is not just about maintenance but about embarking on a journey with the shoes. Every layer of polish contributes to the shoe’s evolving patina, making them uniquely yours over time.
With the shoe trees in place and this initial polish done, I am excited to wear these shoes for a special event and beyond, confident they will look their best and last for years.
👋 Outro
Thank you for joining me on this detailed journey of preparing and polishing my new Gifennse brogues. Taking the time to condition and polish your shoes properly is an investment that pays dividends in style, comfort, and longevity.
If you have any questions about footwear care, men's style, or personal grooming, feel free to reach out. Sharing knowledge and experiences helps all of us elevate our style game.
Remember, great shoes are the foundation of a great outfit—they speak volumes about your attention to detail and personal pride. So, look after your shoes, and they will look after your feet.
Until next time, take care of yourselves and your families, and keep stepping out in style!


